- Published on
Building a University Portal with Power Pages #6
- Authors

- Name
- Calum Harrison
Quick recap
In this series, I’m documenting the process of building a university portal with Power Pages, sharing practical tips along the way :)
In part 5 I said I would cover building the other student pages using out of the box features like forms and lists etc.
I can confirm there will be LISTS, CALENDARS AND MORE!

Lists
I decided where we are simply presenting data such as the student’s courses or assignments a list would be used.
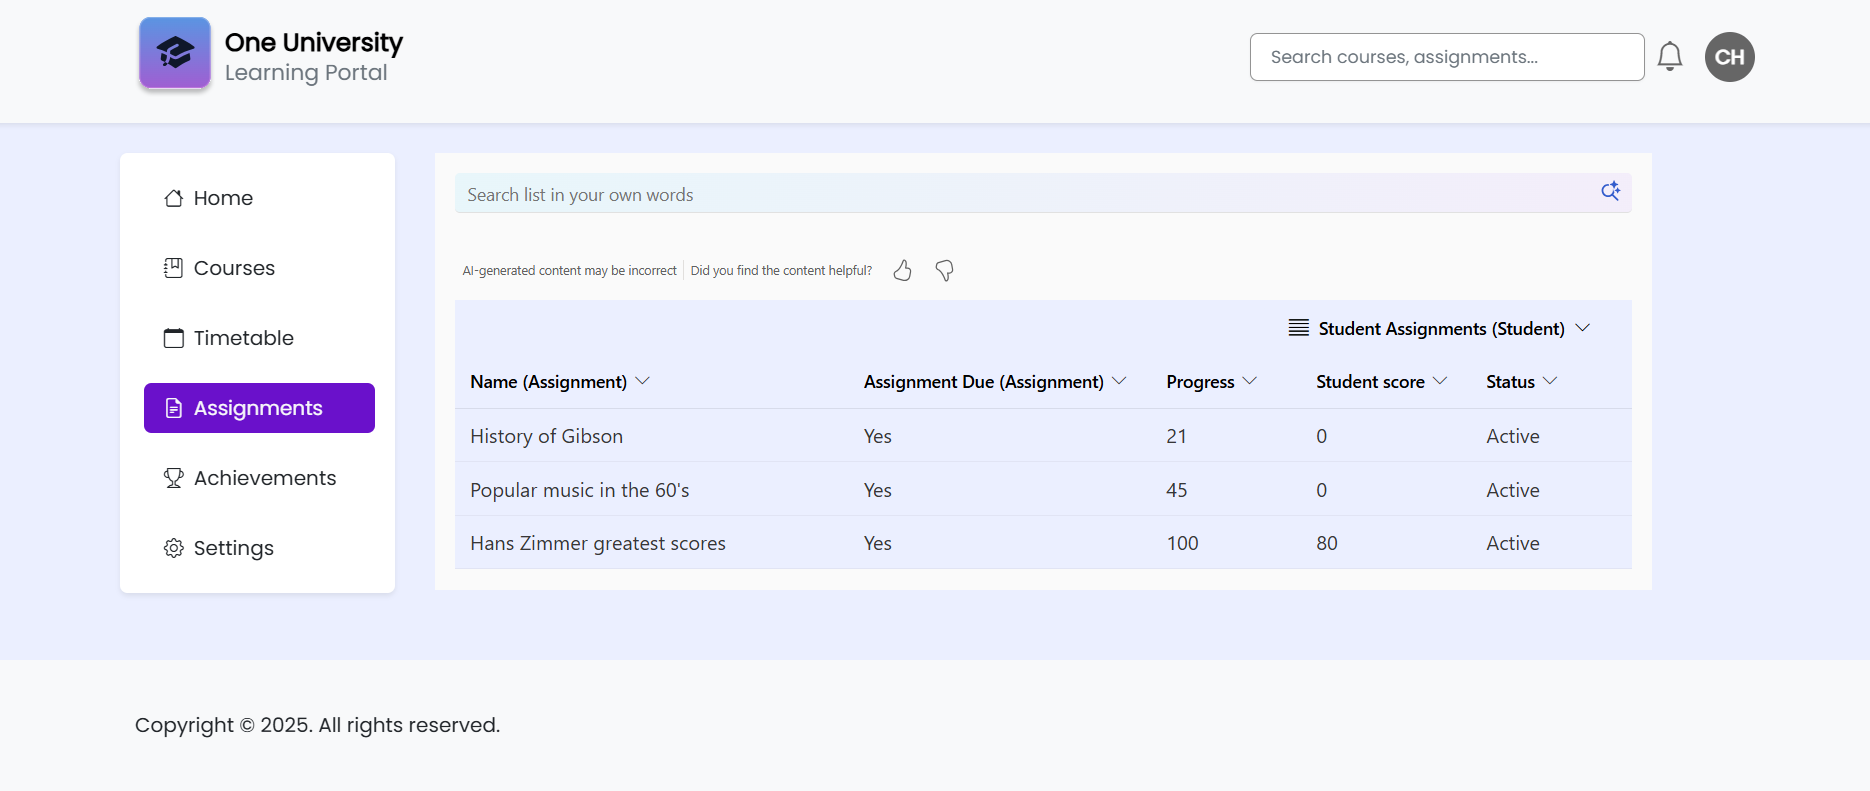
As this is a personal project I enabled the modern feature for lists and was impressed with how it looked!
Preaching to the converted… it’s recommended to not use preview features for a solution that’s used in production.
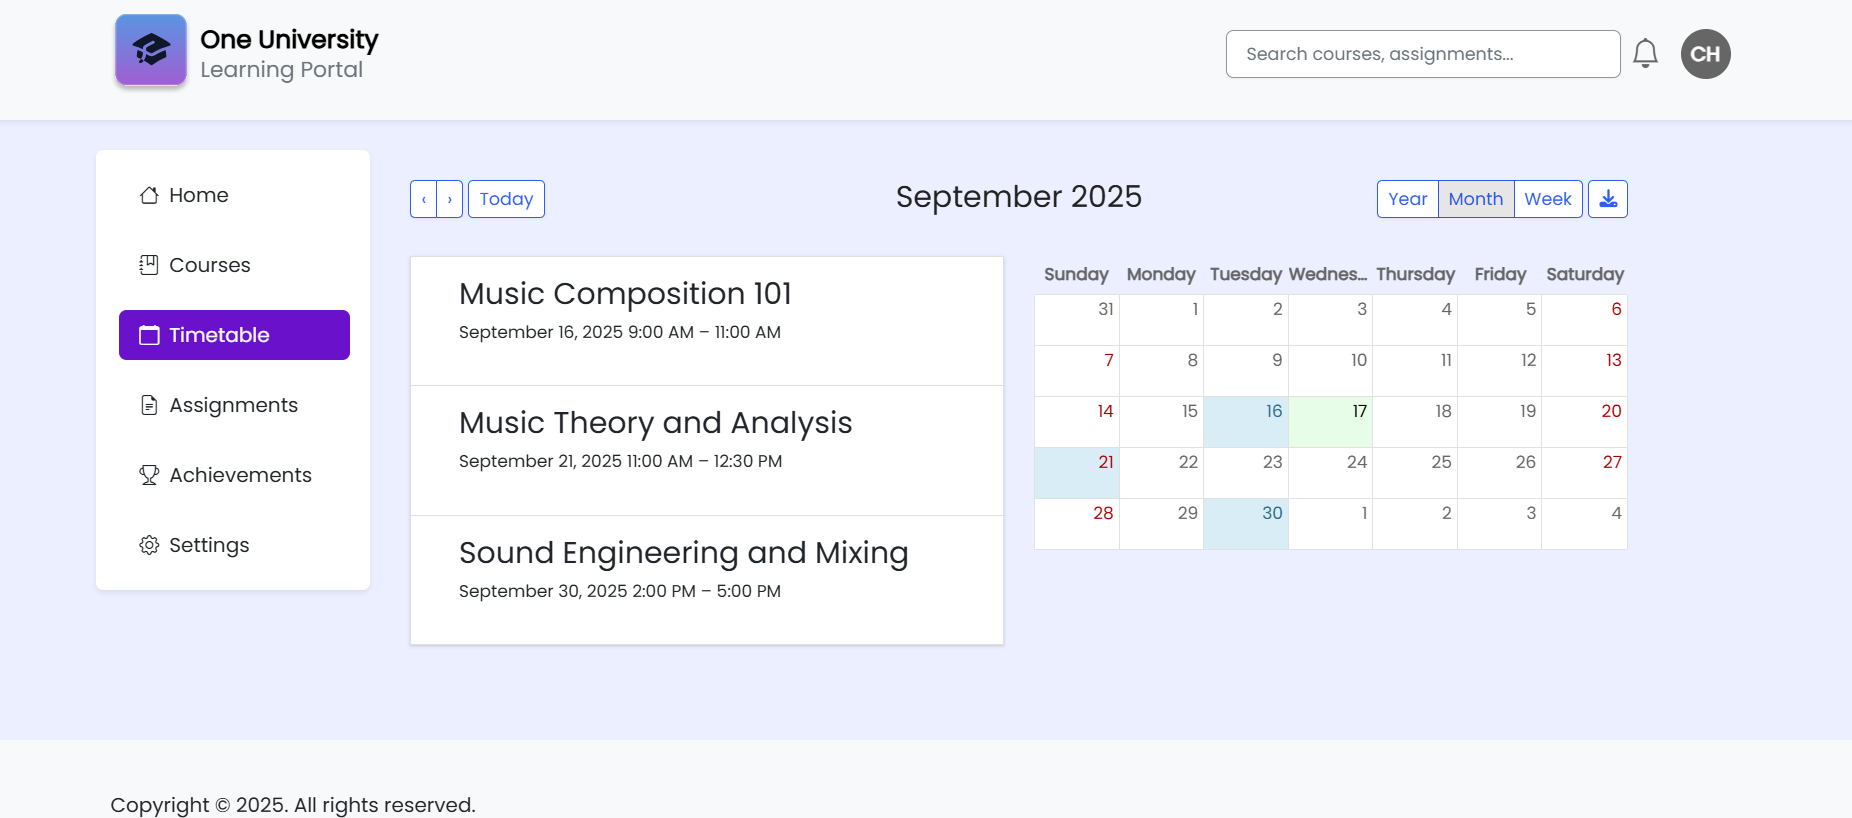
Calendar
It turns out you can turn a list into a calendar view with a bit of a setup.
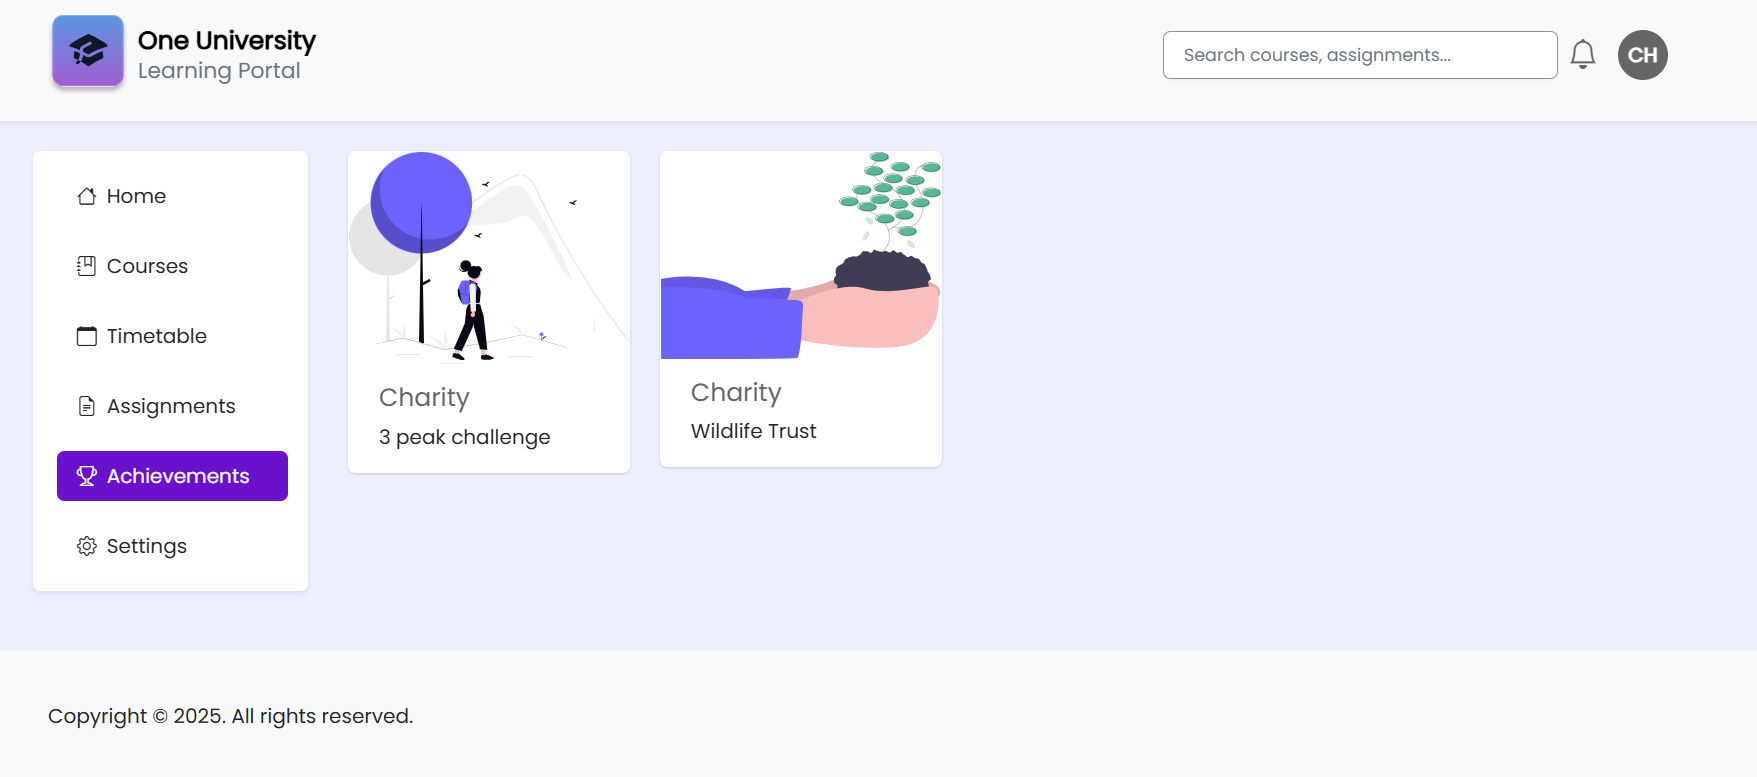
Not Power Pages cards
For the student achievements, I imagined having them as a cards to show a picture and the title of the achievement.
I tried using the out of the box cards that are included with Power Pages but I didn’t like the way they were outputted and the limits with this feature so I decided to build a custom page instead with Liquid.
{% extends 'University_BaseLayout' %}

{% block sidebar %}
{% include 'University_DashboardSidebar' %}
{% endblock %}

{% block content %}
<div id="mainContent" class="wrapper-body" role="main">
    <div class="page-copy">
        {% editable page 'adx_copy' type: 'html', liquid: true %}

        <!-- Fetch student details -->

        {% include 'University_FetchStudentDetails' %}
        {% assign student_details_result = student_details.results.entities %}

        <!-- Fetch student achievements -->
        {% assign student_id = student_details_result[0].ch_studentid %}
        <!-- Fetch courses by student-->

        {% include 'University_FetchStudentAchievements' studentid: student_id %}
        {% assign student_achievements_result = student_achievements.results.entities %}
        <div class="row">

            {% if student_achievements_result.size > 0 %}
            {% for student_achievement in student_achievements_result %}
            <div class="col-md-3 mb-4">
                <div class="card rounded">
                    <img src="{{ student_achievement.ch_imageurl}}" class="card-img-top" alt="...">
                    <div class="card-body">
                        <h5 class="card-title">{{ student_achievement.ch_achievementtype.Label }}</h5>
                            <p class="card-text">{{ student_achievement.ch_name }}</p>
                    </div>
                </div>
            </div>
            {% endfor %}
            {% else %}
            <p>No active assignments found.</p>
            {% endif %}
        </div>
    </div>
</div>
    {% endblock %}
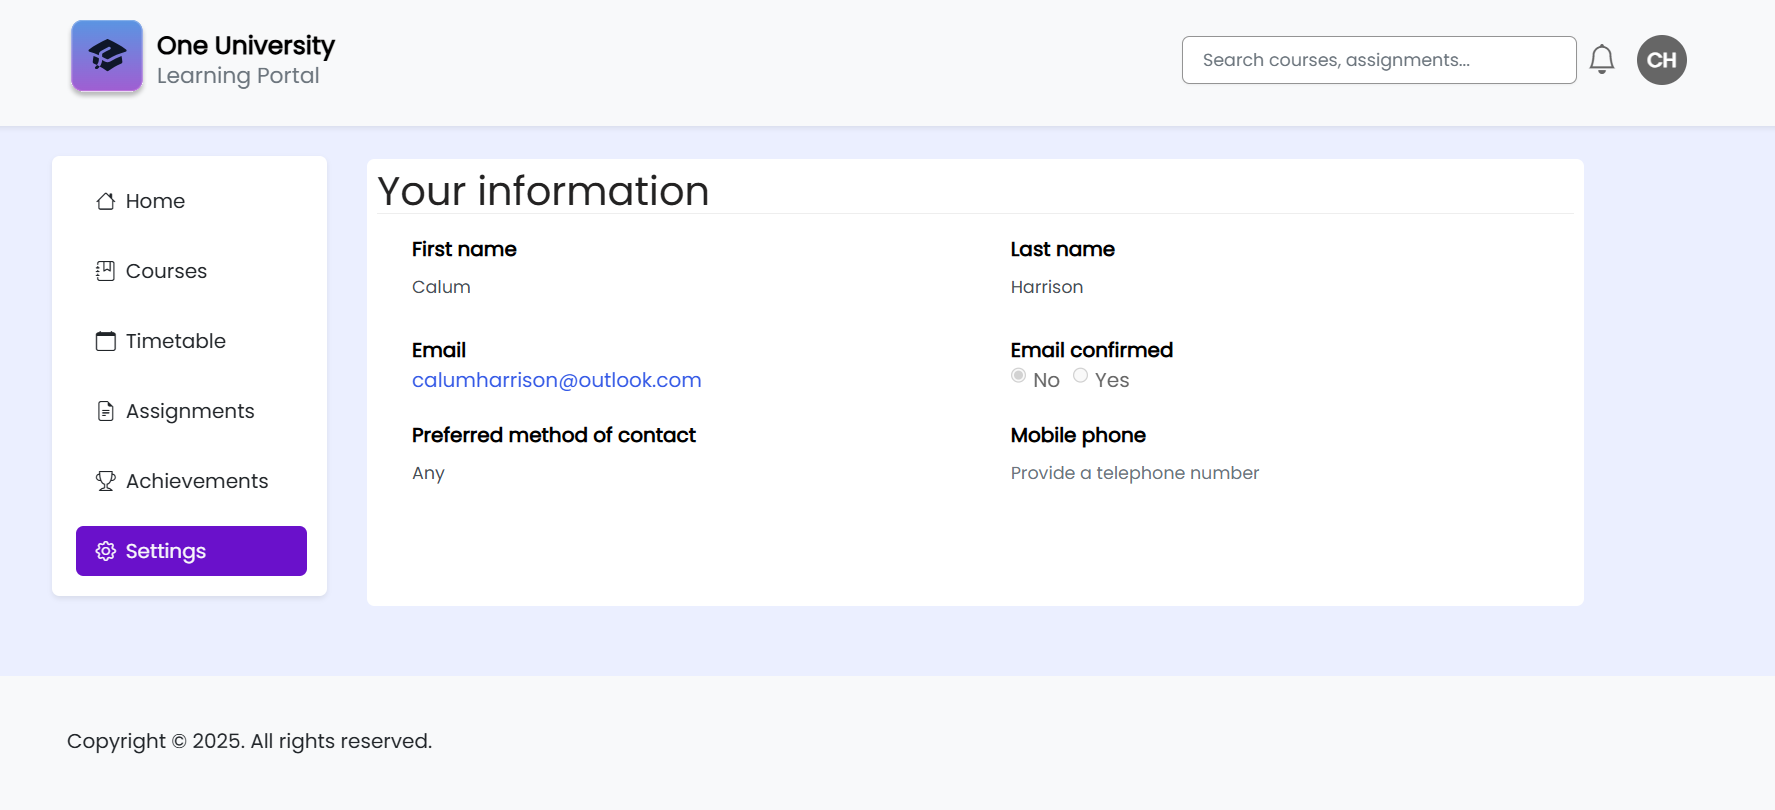
Basic form
Finally, I created a basic read-only form to show information of the logged-in user.
Wrap up
This feels like a good place to stop building the university portal for now. If you have followed along, you should have been able to see how a Power Pages site can be designed and developed with a combination of using the out of the box and pro code.
Despite this site having only read-only functionality, this series has demonstrated to me how quickly you can setup a site that connects to Dataverse that’s really cool.
I will probably use this site as a example for tutorials and possibly look at the lecturer view in the future.
If there is anything that I’ve covered that would be useful to cover in more detail please let me know in the comments or LinkedIn and I can add it to the backlog for the future :)
As always, thanks for reading and take it easy!
This is a personal, non-work project just for learning and sharing.