- Published on
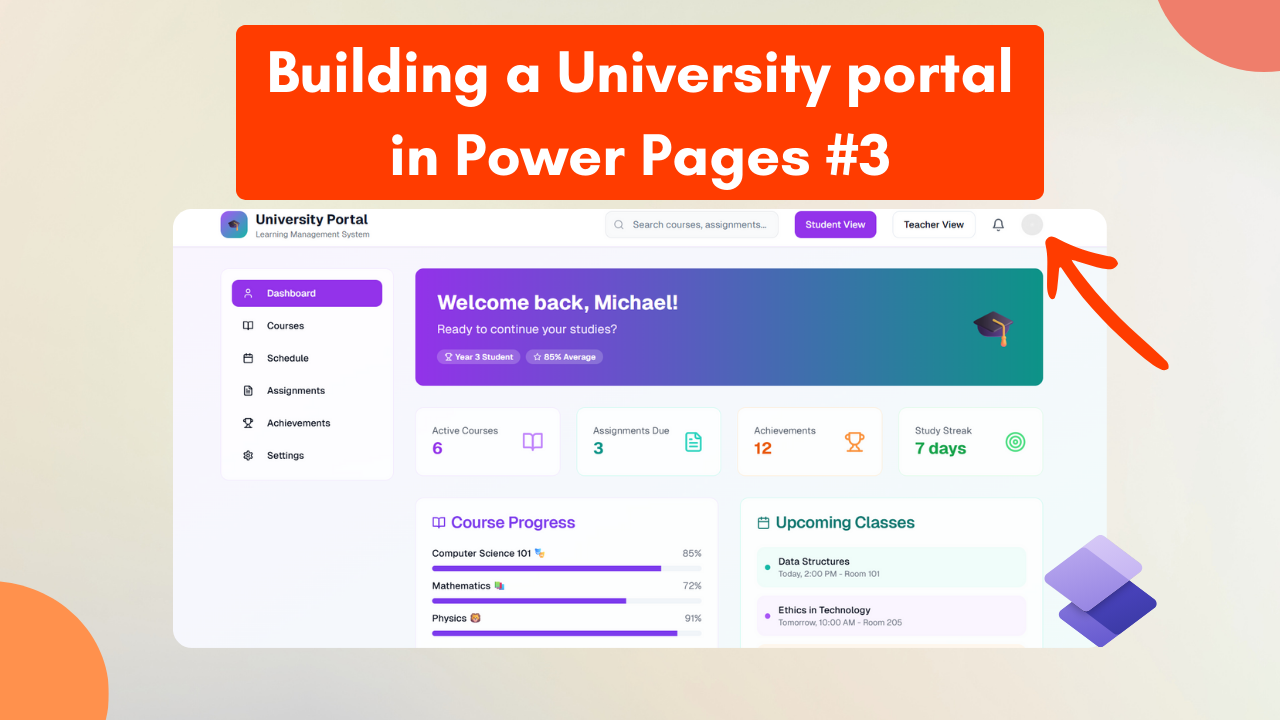
Building a University Portal with Power Pages #3
- Authors

- Name
- Calum Harrison
Quick recap
In this series, I’m documenting the process of building a university portal with Power Pages, sharing practical tips along the way :)
In part 2 I said I would cover the web templates required for the dashboard so let’s go and view some liquid examples.

Liquid and web templates
In order to get the data needed for the dashboard I used web templates that includes liquid to fetch the data from Dataverse. This is only required when you’re not using the out of the box components Power Pages provides.
It’s best to use out of the box when you can but for custom layouts and custom designs, web templates and liquid do the job well.
If you’re not familiar with liquid, don’t worry, in this LinkedIn post I cover how to to learn it :)
Remember this from part 2?
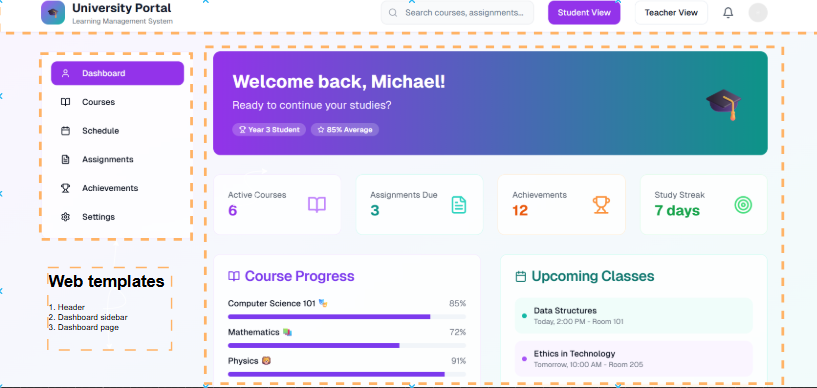
With this, I created 3 web templates for the dashboard to separate the code out.
- Dashboard base layout (gives the structure for the dashboard page).
- Dashboard page (where most of the dashboard content will sit).
- Dashboard sidebar (created a weblink set to make the sidebar links dynamic).
<!-- Base layout -->

<div class="container">
    <div class="row">
      {% block sidebar %}{% endblock %}
      <main class="col p-2">
        {% block content %}{% endblock %}
      </main>
    </div>
  </div>

<!-- Sidebar -->

{% block sidebar %}
<aside class="col-2 bg-white vh-100 shadow-sm p-3 mt-4">
  <ul class="nav flex-column gap-3">
    {% assign sidebar = weblinks['Sidebar'] %}
      {% if sidebar %}
        {% for link in sidebar.weblinks %}
          <li><a href="{{ link.url | escape }}" class="nav-link text-dark">{{ link.name | escape }} </a></li>
        {% endfor %}
      {% endif %}
  </ul>
</aside>
{% endblock %}

<!-- Dashboard page -->

{% extends 'University_BaseLayout' %}

{% block sidebar %}
{% include 'University_DashboardSidebar' %}
{% endblock %}

{% block content %}
<div id="mainContent" class="wrapper-body" role="main">
  <div class="page-copy">
    {% editable page 'adx_copy' type: 'html', liquid: true %}
{% endblock %}
Then I started playing around with the header and I thought it would be cool to have the profile icon to show the initials of the logged in contact. Basically completely copy what Microsoft do.

 {% if user %}
   {% assign first_initial = user.firstname | slice: 0,1 %}
   {% assign last_initial = user.lastname | slice: 0,1 %}
   {% assign initials = first_initial | append: last_initial %}
   {{ initials | upcase }}
 {% else %}
     XX
 {% endif %}
.avatar-circle {
  width: 40px;
  height: 40px;
  border-radius: 50%;
  font-size: 1rem;
  text-transform: uppercase;
}
What’s next?
Overall I’m pretty happy where it’s heading, in part 4 I will cover styling the portal with a custom theme to make it pop.

If there is anything that I’ve covered that would be useful to cover in more detail please let me know in the comments or LinkedIn and I can add it to the backlog for the future :)
As always, thanks for reading and take it easy!
👋 Enjoyed this post?
**Sign up for my newsletter to get notified whenever a new blog is out.
***Don't forget to check your spam folder so you don't miss out!*
This is a personal, non-work project just for learning and sharing.