- Published on
Building a University Portal with Power Pages #4
- Authors

- Name
- Calum Harrison
Quick recap
In this series, I’m documenting the process of building a university portal with Power Pages, sharing practical tips along the way :)
In part 3 I said I would cover the styling of the portal with a custom theme to make it look less like a Power Pages site.

Logo and favicon
To get started, I created a logo in Figma using inspiration from the design covered in part #1.
Uploaded the logo as a web file and used the existing content snippet (Logo URL) to reference the logo in the header web template.
![]()
<img src="{{ snippets['Logo URL'] }}" alt="Logo" width="64" height="64" class="d-inline-block align-text-top">
To create the browser icon (favicon) I resized the logo to 16×16 and followed Ulrikke Akerbæk awesome blog post that covers how to add a favicon to Power Pages.
Custom theme with Bootstrap
Bootswatch is a collection of themes that give you good start to building a theme for a portal. I liked it that much that I’ve covered how to add a Bootswatch theme to Power Pages here.
I downloaded the Zephyr theme and uploaded the web files to the portal and made sure to deactivate the other styling web files (Bootstrap and portal basic).
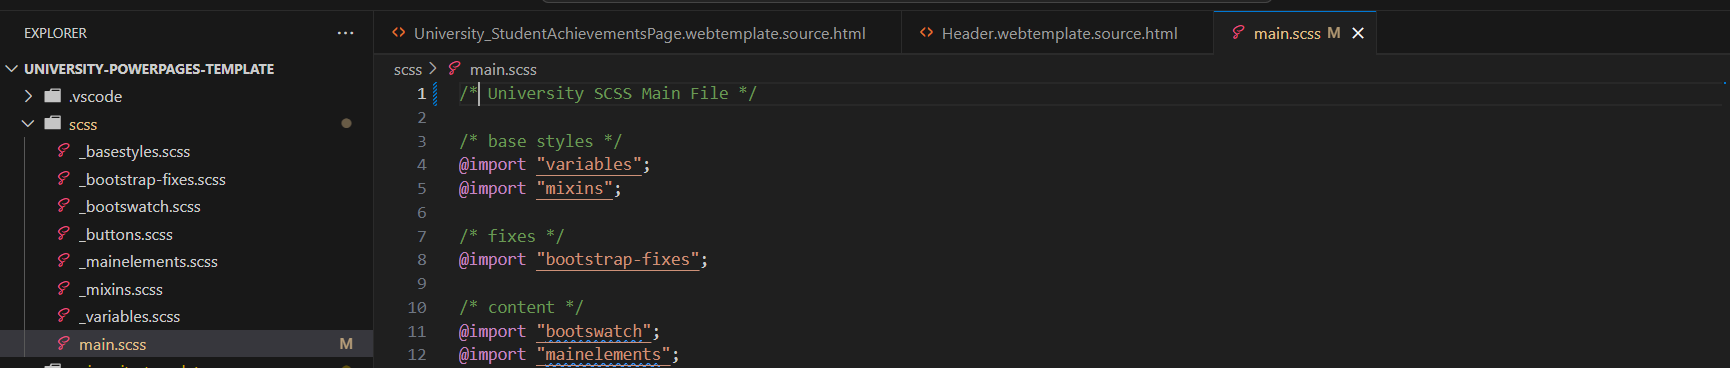
Sass
Sass is a great to way organise your CSS, especially when you working with a theme as you can change the primary colours for your main stylesheet.
Again shoutout to Ulrikke Akerbæk brilliant blog post that covers how to add Sass to Power Pages. I used this for this project too.
The only drawback with this current setup is that it doesn’t create the Bootstrap style/variables from scratch so I’ve added this to the backlog to look at this more in the future. Basically the process should be able to create the Bootstrap file and then minify it as a web file.
At the moment, I’m just working with a minified Bootstrap file from Bootswatch.
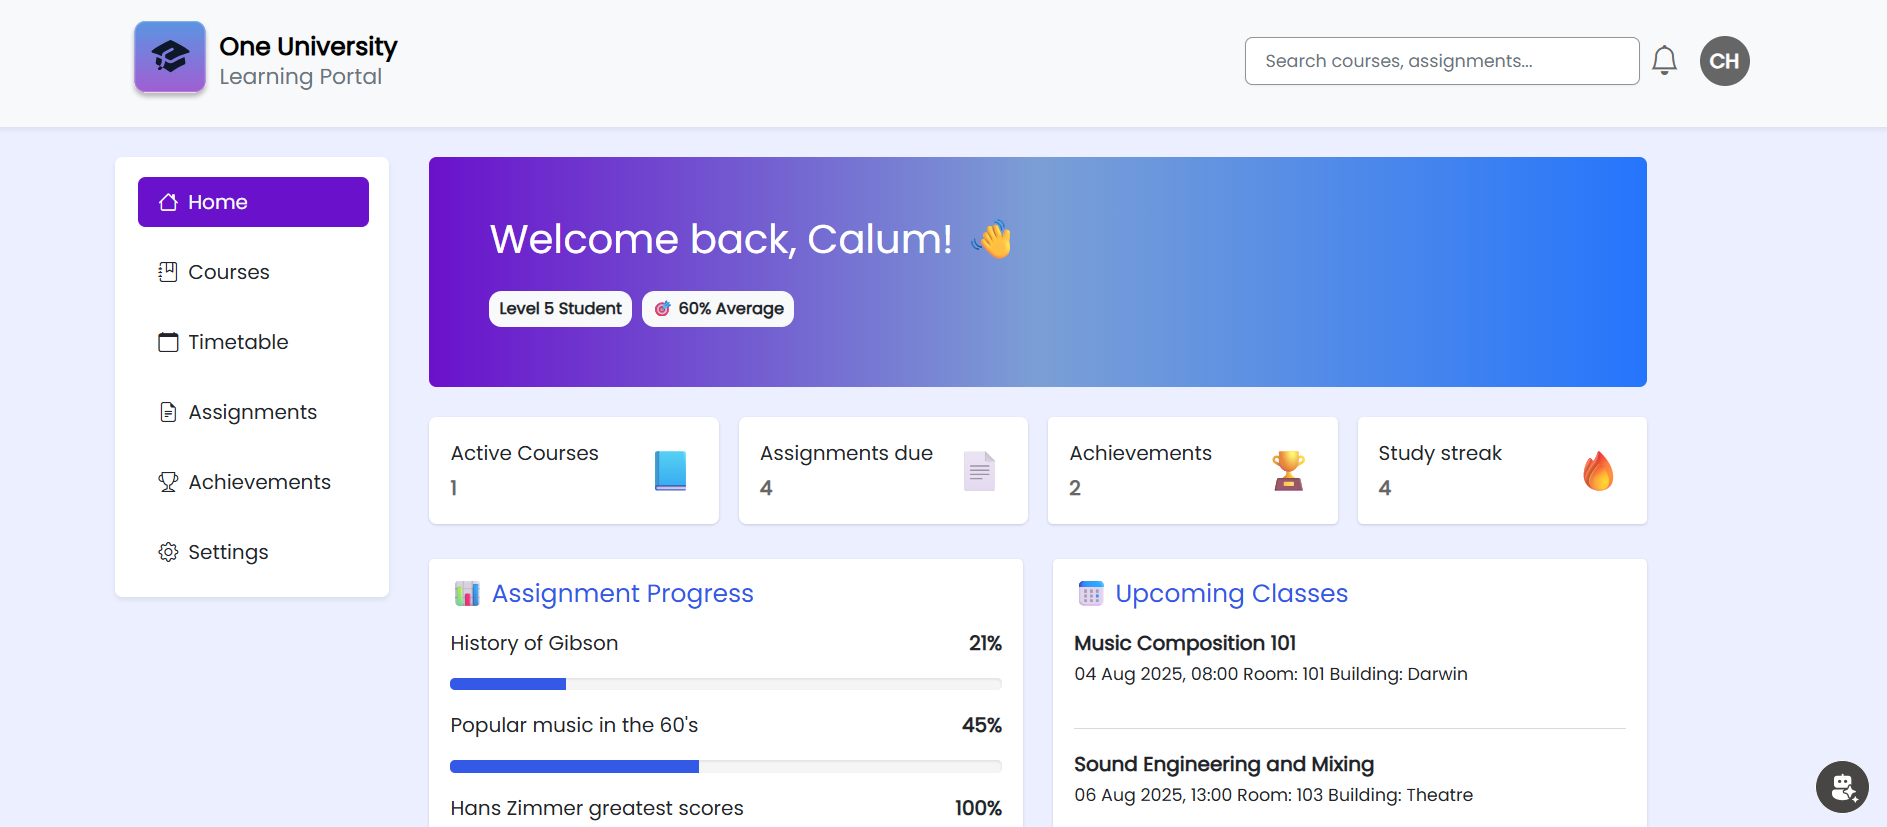
Let’s fake it
To see what the portal would like, I added dummy data to the areas of the web page using the the web templates created in part #3.
The portal looks like this so far, drum roll…

What’s next?
The look and feel of the portal looks good, so for next time I will cover changing the dummy data with real data from the database using fetch xml and liquid.
If there is anything that I’ve covered that would be useful to cover in more detail please let me know in the comments or LinkedIn and I can add it to the backlog for the future :)
As always, thanks for reading and take it easy!
This is a personal, non-work project just for learning and sharing.